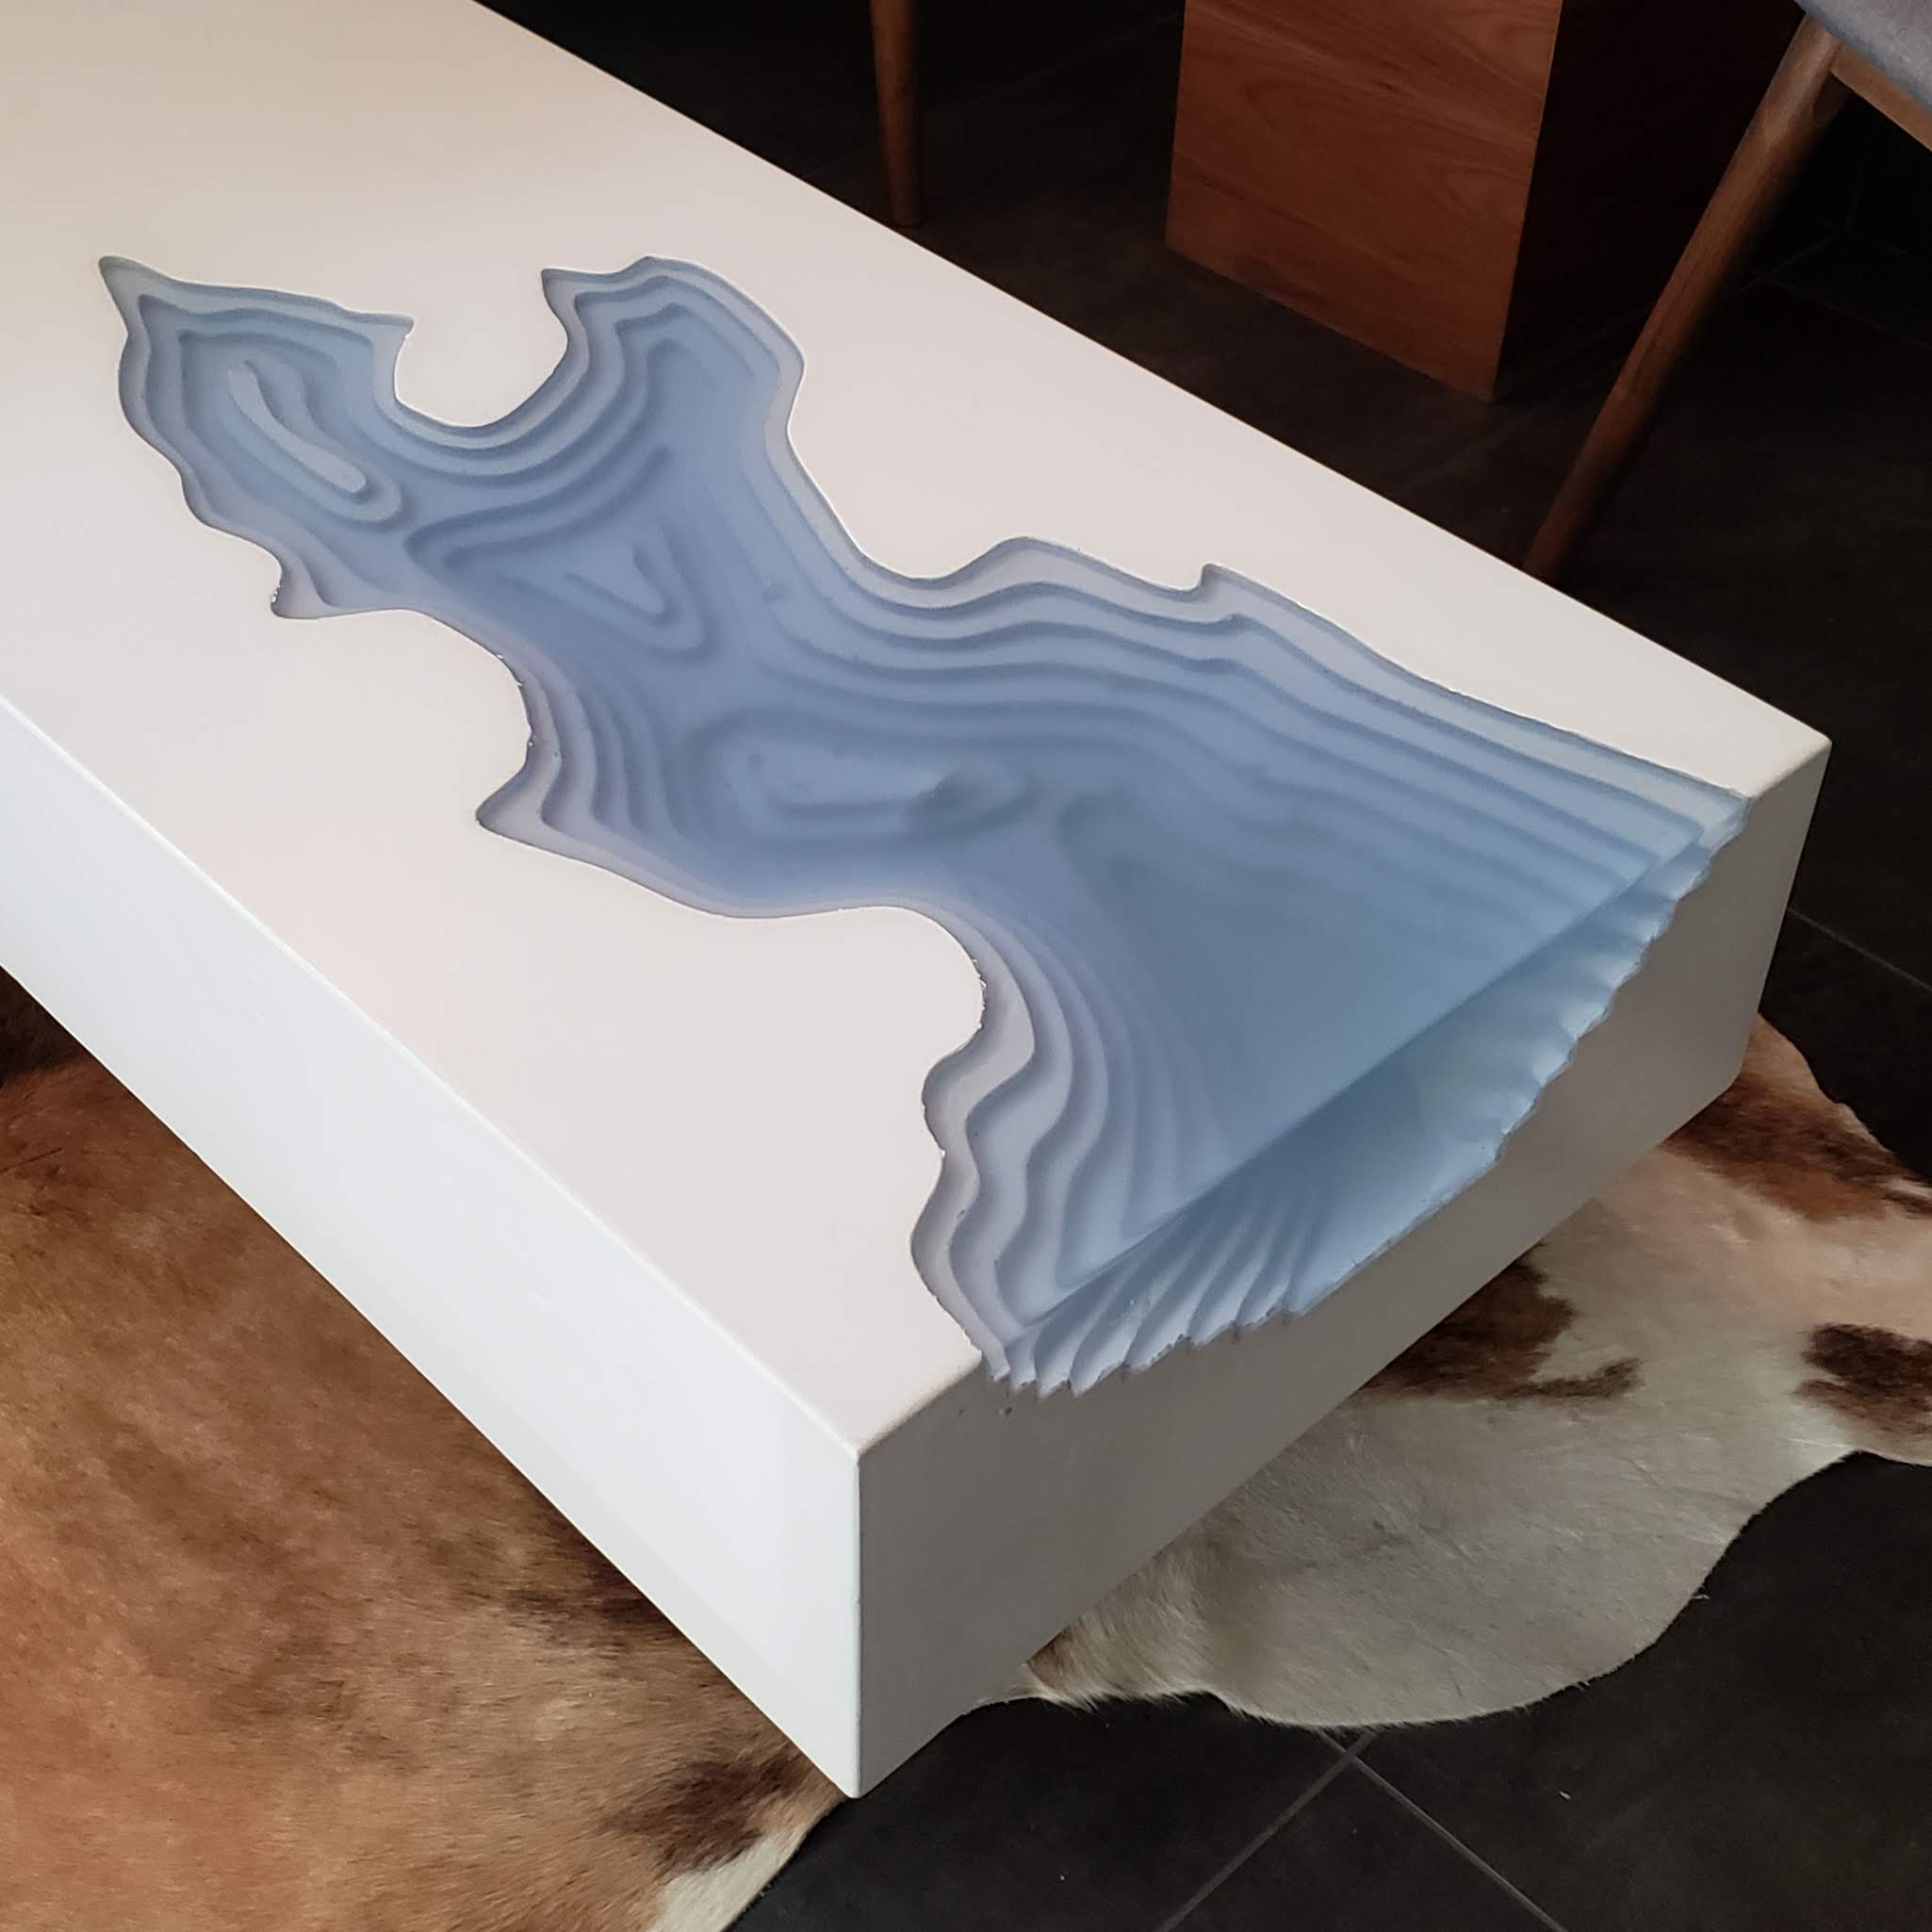
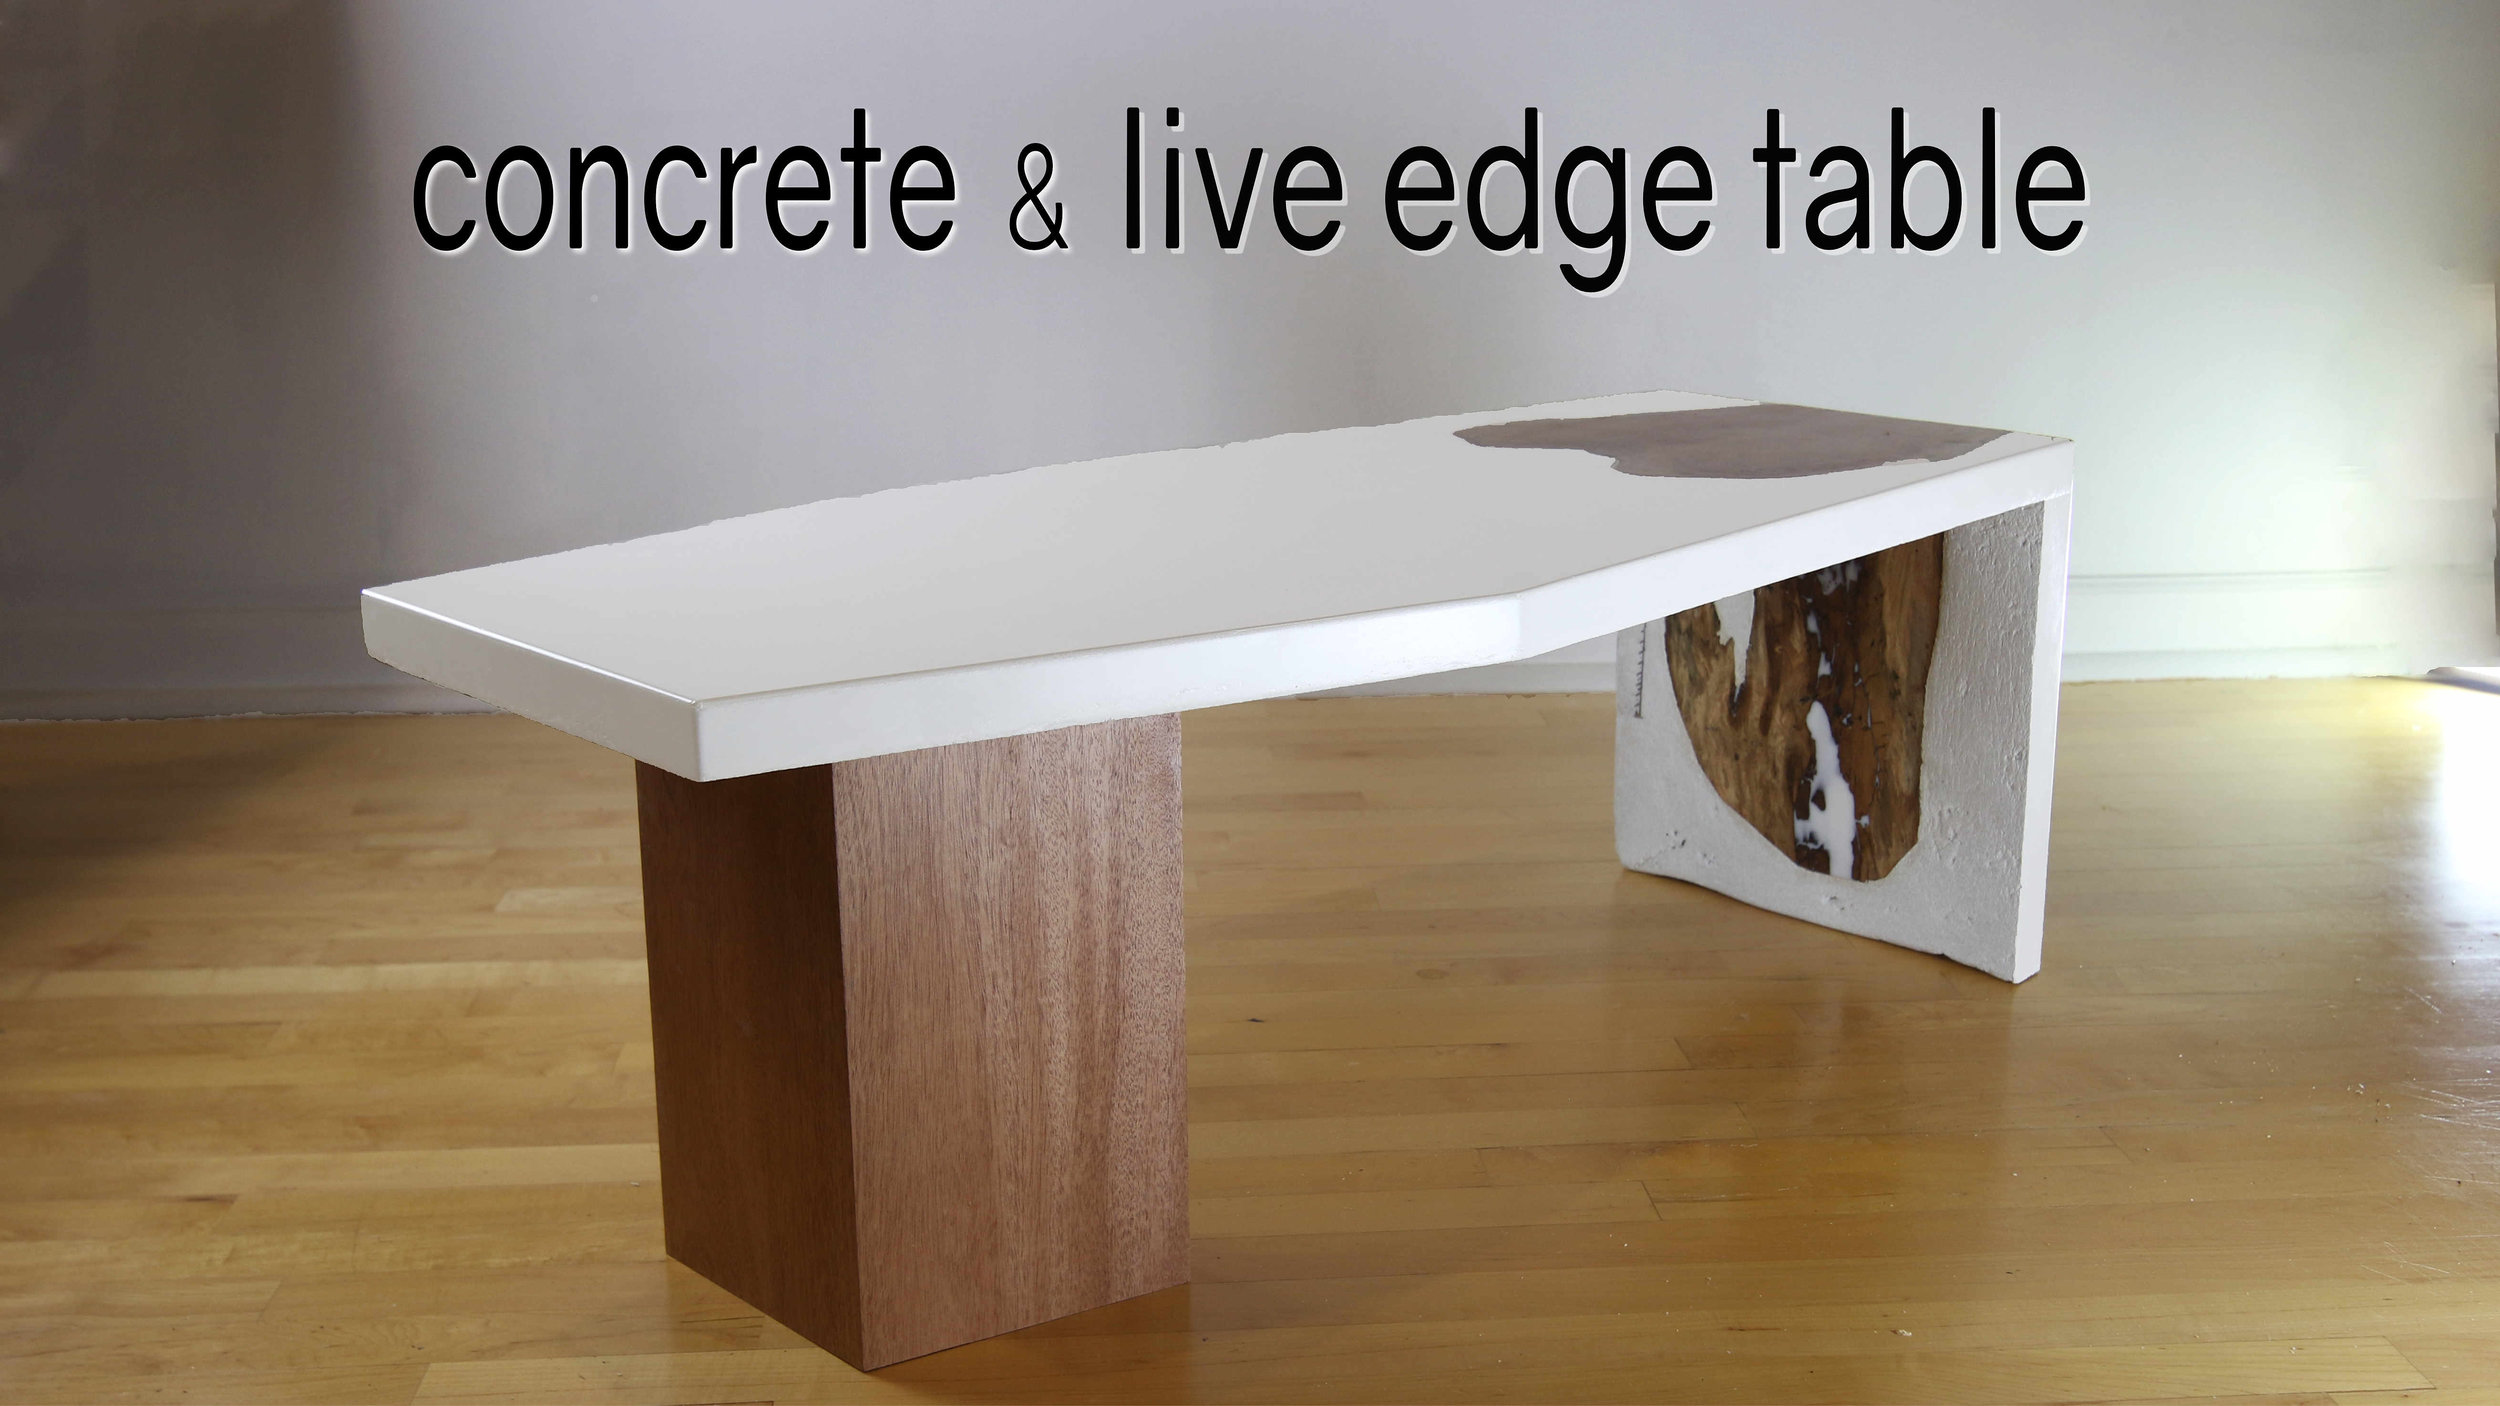
This time I’m making a DIY modern concrete coffee table using white GFRC concrete mix and walnut lumber. This project involves intermediate concrete and woodworking skills, but I think with some patience, anyone can create this modern concrete coffee table. It would also be cool to see someone scale this design to dining table size. The table has an aggressive wing-shape that I’m really happy with.

Oh, it was also featured on the cover of the August 2019 issue of Popular Woodworking :)

If you haven’t worked with GFRC before, it might seem a bit intimidating; but it isn’t. It really isn’t a whole lot more difficult to work with than standard concrete, and the results that GFRC produces are amazing. The woodworking skills involved are more intermediate, basically because you have to use a vertical cutting jig on the table saw to make the aggressively angled walnut base for the coffee table.

\\ FOLLOW ME//
o Instagram: @modustrialmaker - https://goo.gl/F4UdEs
o Blog: https://www.modustrialmaker.com
\\ CONCRETE LINKS //
o GFRC Concrete Mix: https://goo.gl/keUX8H

o AR Glass Fibers: https://goo.gl/t4qpTN
o Cake Fondant Tool for perfect edges: http://amzn.to/2w0JCVx
o Helical Mixing Paddle: https://amzn.to/2GFyxjF
o Concrete mixer: http://amzn.to/2kEnZFi
o Concrete pigments: http://bit.ly/2GxzWrf
o 1-part concrete sealer: http://amzn.to/2xW7Gth
o Black 100% Silicone Caulk: http://amzn.to/2B64iRY
o Paste Finishing Wax: http://amzn.to/2kF565e
o “From Scratch” GFRC Recipes: https://goo.gl/35RvFM
o o Hopper Spray Gun (for spray-on face coat): http://amzn.to/2Cf9dxi
o o Air compressor (for spray gun): https://amzn.to/2G333Fo
\\ TOOLS I USE (NOW) //
o SawStop Table Saw: https://amzn.to/2YBfNrH
o Fine finish miter saw blade: http://bit.ly/2w8RuVZ
o Melamine blade: http://bit.ly/2JwhdjG
o Hikoki / Metabo HPT Cordless Circular Saw: http://bit.ly/2Vmuz7T
o Hikoki / Metabo HPT Cordless Angle Grinder
o Hikoki / Metabo HPT (Insane!!) 36V Impact Driver: http://bit.ly/2Ygul05
o Hikoki / Metabo HPT 12V Impact Driver: Coming Soon!!
o Hikoki / Metabo HPT Random Orbit Sander: https://amzn.to/2NgGTnl